This semester I have been working with the book The Perks of Being a Wallflower. The book is written by Stephen Chbosky.
I chose to use the online version of the book since that version also has an audio version and the students are able to listen while they are reading. You can find the book here:
The Perks of Being a Wallflower.
3 of my classes read this book and they are 13-14 years old. I meet them two times a week and one lesson lasts for 60 minutes.
I worked with this book for about 18 lessons. Two of the classes were new to me and they had never read a book in English before. In the beginning, I helped them a lot with the reading. I showed the text on my whiteboard via my projector and at the same time, we listened to the text. We read the first four chapters together and I paused many times to make sure everyone understood the book. We talked about hard words, I showed them how to read between the lines and also just checked their understanding.
The students liked this way of doing it and everyone managed to read the whole book.
I need to add here that I don't have any immigrants who don't understand English in my classes. The students who struggle a lot with learning English are being taught in a group with about 10 students where they get help at their level of English.
Digital tools and web pages that are used in this project:
Esl.bits.net
SeeSaw
Mentimeter.com
Grammarly
Google Classroom
Google document
Google Presentations
Pear Deck
Kaseta.com
Youtube
The links in the text go to the lesson plans I used with my students. Below is just a summary of what we did. You have to click on the links to get the detailed lesson plans.
Week 1 Introduction
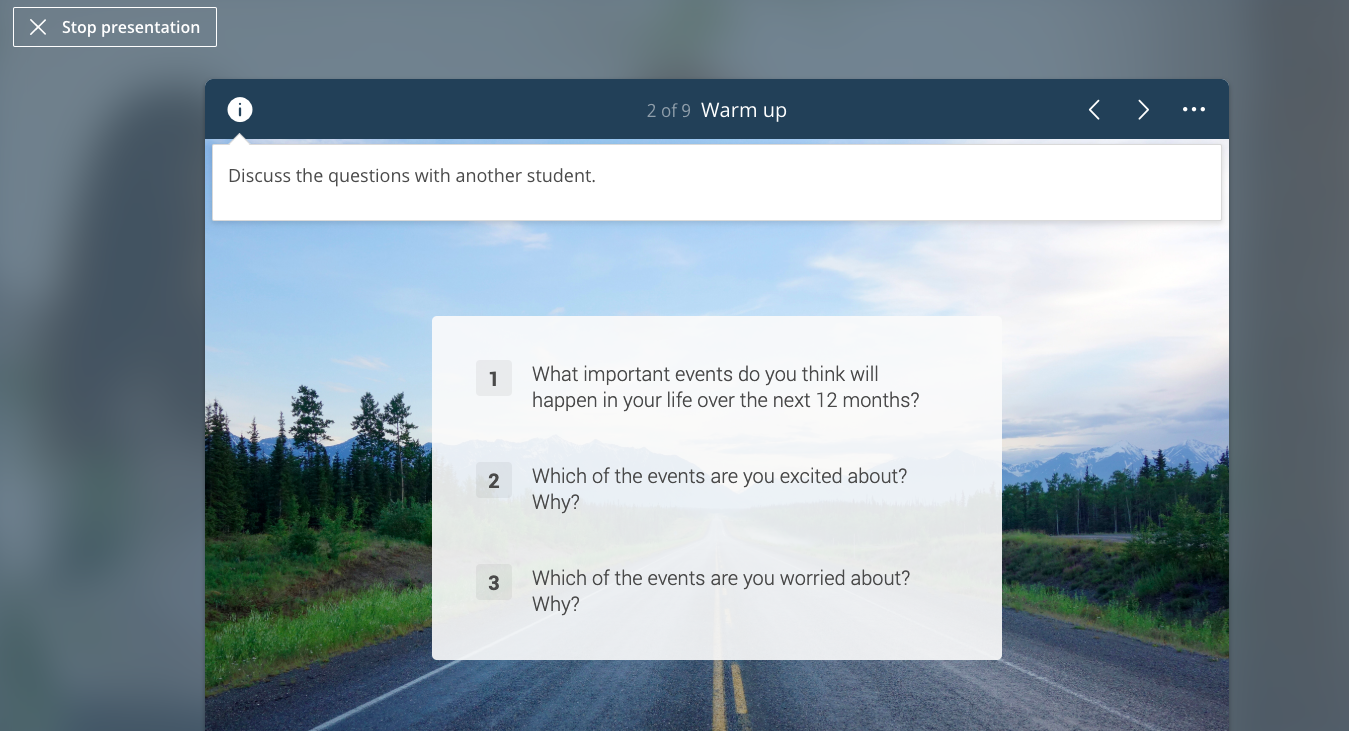
Discussions before reading:
The Perks - Introduction
Start reading the first parts of the book. You find the book in the link at the top of this text.
Read the text together with your students and help them understand the text. Make pauses and make sure they understand before you move on.
We read the 3 first parts together, which took about 2 lessons.
Week 2 After reading part 1-3 (in the online version)
After reading part 1-3
The students worked in pairs and answered questions.
During one lesson I showed them how to use the digital tool
SeeSaw. The link will take you to an instructional video on how the tool works.
Homework: the student needed to record him/herself in SeeSaw while he/she was reflecting on the scene where Charlie's sister was slapped in the face by her boyfriend.
(I listened to them talking and assessed this part.)
Week 3 Was she raped or not?
We read/listened to part 3 together and afterwards, I wrote on the whiteboard:
RAPE?
YES I don't know NO
I told the students to individually think about the scene in part 3 where Charlie was in the room and the couple came in. The students had to be absolutely quiet and think about the scene: was the girl raped or not?
Before we started the discussion I was very strict about the rules: you need to respect each other and it is forbidden to laugh or be disrespectful when we are discussing this.
Then I slumped the names of some students and asked them about their thoughts. A few of them said that they didn't think she was raped since she didn't scream or try to run away. Others said that she was raped because the girl cried and who cries if you want to have sex with someone? All classes had really intense discussions and I needed to be very strict to make sure they listened to each other and respected each other's opinions.
The next lesson we watched two videos:
Tea and Consent
Dear Dad
The second one is a very emotional video and all 3 classes were very affected by the film. When I stopped the film they were silent for a long time. Some students cried...
I gave them information on where to find help if they needed and I also told them that violence never is ok.
Before they left class, they wrote two-three sentences anonymously in
Mentimenter.com, where they told me their thoughts about the lesson.
Week 4 Writing assignment
After reading part 3 - writing
The first lesson this week I taught them how to write a blog post. We talked about creating headlines and introductions that made people want to continue reading. I showed different examples of headlines and the students discussed if the headlines were clickbaits or not.
The students wrote this text in Inspera, which is a program that stops the student from using the internet while they are writing. The students were allowed to prepare themselves by writing a mind-map, but that was the only "help" they had.
I assessed their texts but didn't give them any written feedback. The week after this lesson, the students read the book the whole lesson and I talked to them individually about their texts.
Week 5
Continue reading individually
The students continued reading individually and needed to finish reading until part 9 in the online version.
The students focused on vocabulary and wrote down words they didn't understand. They looked up the words in a dictionary and homework was to learn the new words. (About 20-25 per student)
Grammar: When I read the essays the students wrote the week before I noticed grammar mistakes that many of them did. During the lesson week 5 I wrote ten sentences on the whiteboard and told the students to find out what was wrong, write the correct version and also motivate the changes they did with a "grammar rule".
Example:
Charlie didn't saw what happend in the room.
Correct version: Charlie didn't see what happened in the room.
Rule: My students work with grammar in Swedish so the rules were:
1. När du har did i en mening har du verbet i grundform.
2. happen måste få -ed i dåtid= happened.
The students discussed the ten sentences, corrected the sentences and formed a grammar rule.
I chose different students to write the correct sentence on the whiteboard and also explain their changes. The class then had to say if they agreed or not. At the end, I explained the "grammar rules" one more time and the students took notes.
Week 6
I was in Mexico on a conference so the students read the book individually. They also worked with vocabulary and made word-lists with words they found hard to understand or spell.
Deadline to finish the book was the first lesson week 7.
Week 7
After reading the whole book - create your own mix-tape
Creating mix-tapes is a big thing in the book. During week 7 the students created their own mix-tapes using the webpage:
Kaseta
When they were finished they talked about and presented their mix-tapes in groups of four students.
The students were very creative and could have worked with this forever! Two lessons were my maximum and I also told them to work at home.
Deadline to finish the task was the first lesson week 8.
Week 8
The students presented their mix-tapes. They played the music they chose and told their classmates about the mix-tape the created.
The second lesson that week I taught them how to write the final assignment:
Final writing assignment
I also told the students that the text would be assessed and that it was ok to create a mind-map and bring that mind-map to class.
Week 9
Most students wrote both lessons.
Week 10
Feedback
The students wrote their texts in Inspera, with no help from spell or grammar checker. I read their texts and assessed them. After reading a text, I copied a text and pasted it in a folder in Google Drive. When I was finished assessing all the texts I shared the whole folder with the students via Google Classroom.
In Google Classroom, I matched the students and told them who was going to give feedback to whom etc..
Every student got written feedback as comments in Google docs and the last part was to work with their own texts and notice their spelling and grammar mistakes.
After two lessons I paused their work and we had a grammar discussion:
Was, were, genitive, do,does,did
Two of the classes are new to me and I haven't taught them before. When I read their texts I realised that they didn't know was,were, genitive and do,does, did and that I had to teach them how to use the grammar rules. Click on the link above to see the Google Presentation I used. I added
Pear Deck to make the presentation interactive.
The last lesson
I created a quiz where the students evaluated the work with The Perks of Being a Wallflower.
They just wrote short answers to the questions:
1. What do you think about the book?
2. What do you think about the different tasks we did?
3. If you could change anything in this theme - what would it be?
A majority of my students enjoyed reading a book. The more advanced readers didn't like the book. They thought it was boring that the whole book consisted of letters and letters only! They liked the theme of the book but they thought it was repetitive with all the letters.
To sum up, I think The Perks of Being a Wallflower is a great book to work with. There are so many different themes that apply to teenagers and I am happy that the majority of the students liked it.
Feel free to use my lesson plans. I have found a lot of inspiration here:
Pearltrees.com
/ Sara